Posts mit dem Label Pattern werden angezeigt. Alle Posts anzeigen

Donnerstag, 23. November 2017

Dirndlbluse

Fragt mich nicht, warum, aber irgendwie hatte ich dieses Jahr Lust auf eine hochgeschlossene Dirndlbluse mit geraden Ärmeln. Vielleicht als Gegenpol zu den riesigen Puffärmeln der ersten Bluse, die ich zu meinem Eisbonbon-Dirndl genäht habe?
Auf jeden Fall habe ich den Sommer über Pinterest nach schönen Dirndlblusen durchforscht und mir, wie so häufig, ausgesucht, welche Elemente ich haben wollte. Schlussendlich habe ich mich für einfache Biesen und ein bisschen Häkel(?)-Spitze, die von einem anderen Projekt übrig war, als Verzierung entschieden.

Don't ask why, but for some reason I felt like having a high-necked blouse with straight sleeves for my dirndl this year. Maybe as a kind of antithesis to the gigantic puffed sleeves of the first blouse I made to go with my candy-wrapper-dirndl?
In any case, I spent this summer browsing pinterest for pretty dirndl-blouses and selected which elements I wanted to include. Eventually I decided on simple pintucks and a bit of crochet(?) lace, that I had left over from another project, as trim.

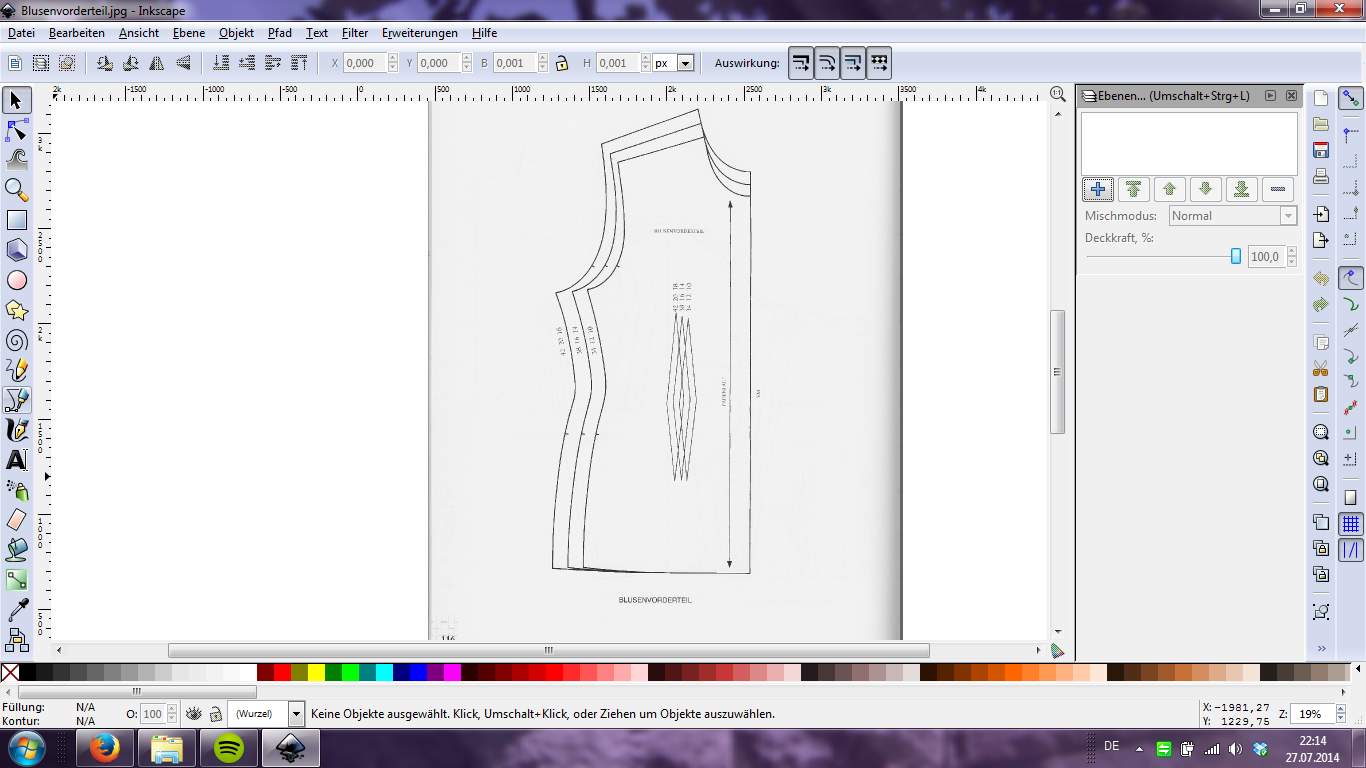
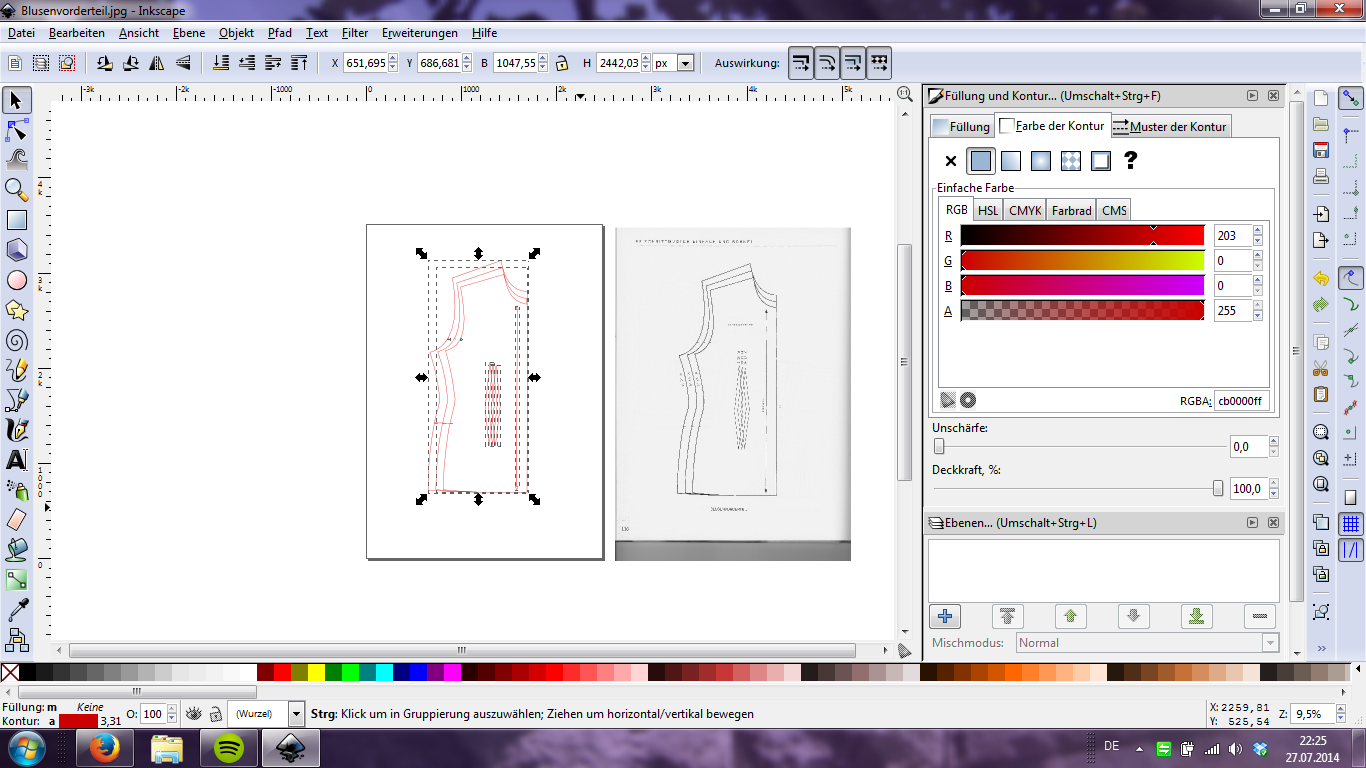
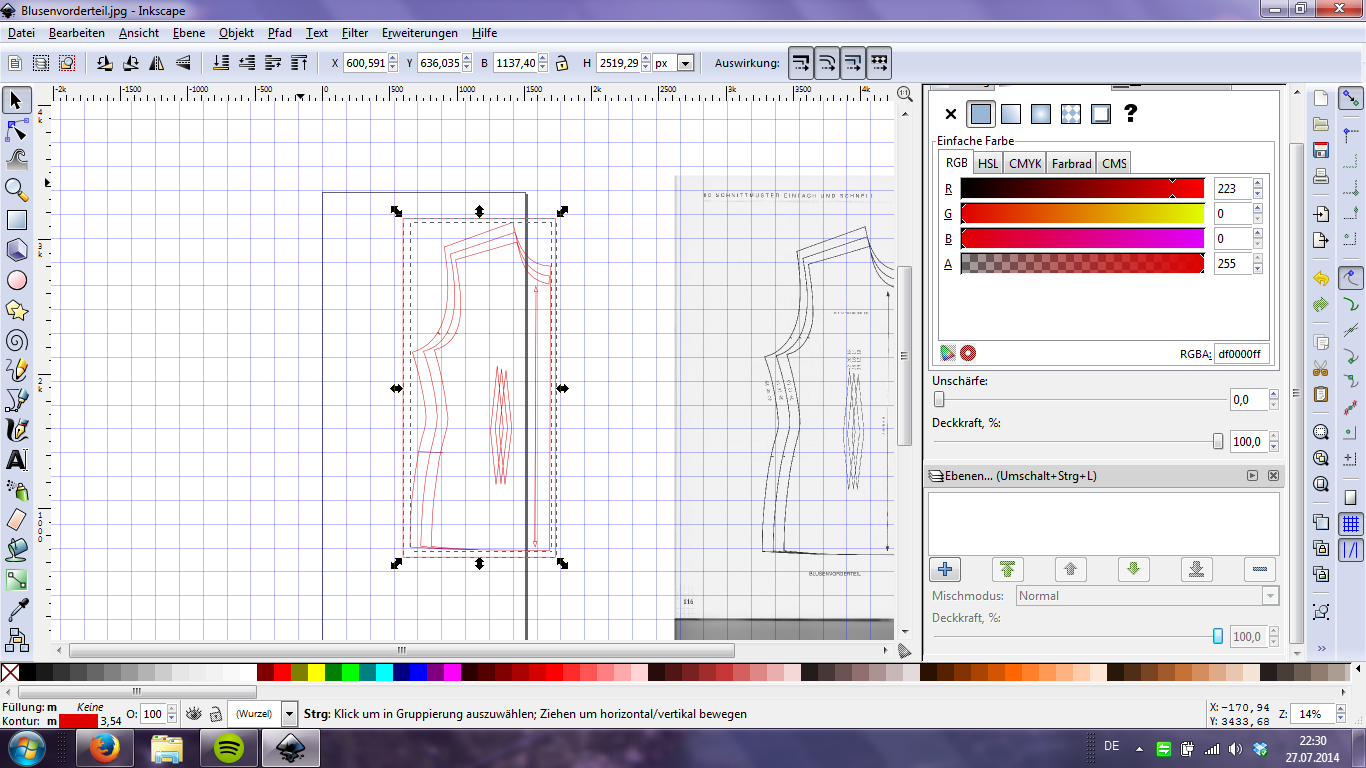
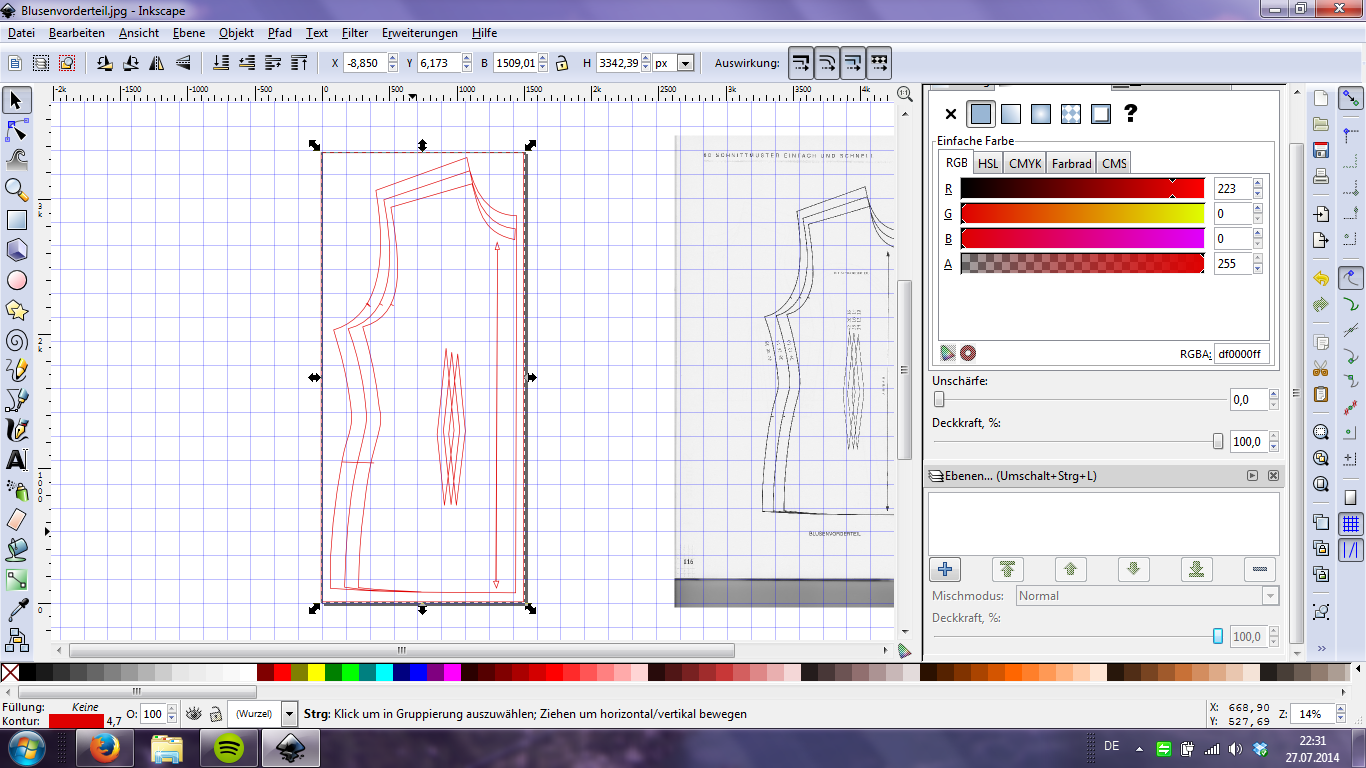
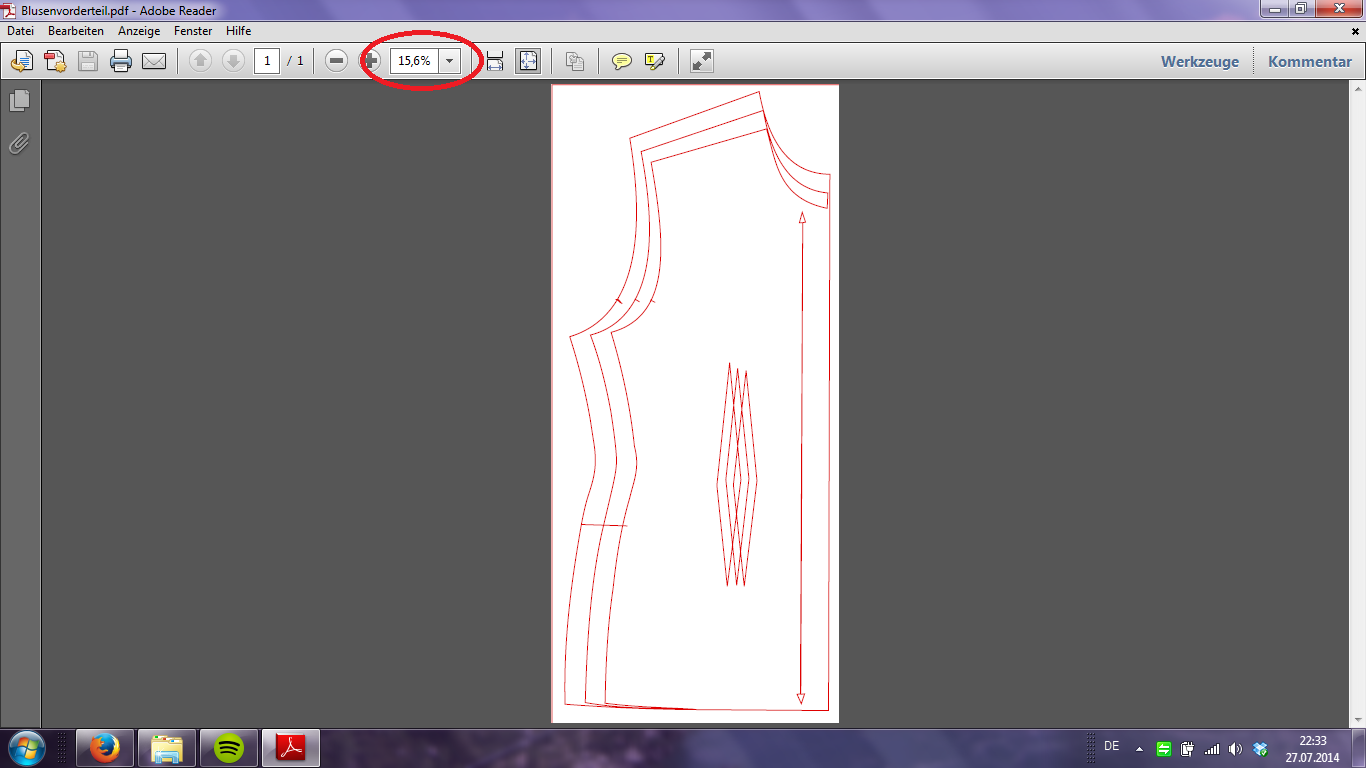
Der Stoff ist weißer Baumwoll-Batist, der noch von meinem Circular Gallifreyan Shirt übrig war, plus ein wenig weiße Ikea-Baumwolle für die Druckknopfleiste. Als Schnittmuster habe ich meinen gewohnten Oberteilblock genommen, den Seitenabnäher vorne nach unten verlagert und knapp unterhalb der Brust mit Gummizug gerafft. Den Ärmel habe ich entsprechend der Maße gedraftet, dabei aber zu wenig Spiel im Oberarm gelassen, was dazu führte, dass ich in der fertigen Bluse die Arme nicht über 45° von meinem Körper abspreizen konnte. Ich konnte das Ganze mit einem in der Unterarmnaht eingesetzten Zwickel(?) beheben, und da dieser Fehler bei mir häufiger vorkommt, heißt das wohl, dass demnächst auch meine anderen selbst-entworfenen Ärmel überholt werden müssen :)

The fabric is white cotton-batiste that was left over from my Circular-Gallifreyan-Shirt, plus some white Ikea-cotton as backing for the snap-closure. I took the pattern from my trustet bodice-block, moved the side-darts to the bottom and gathered the bottom hem right underneath the chest with an elastic. I drafted the sleeves, but didn't account for enough ease in the upper arm, which led to me not being able to lift my arms above 45° after setting in the sleeves. Luckily, I could fix that by inserting a small gusset into the underarm-seam, and since that mistake tends to happen to me frequently, I guess I'm gonna go and fix all my self-drafted sleeves some time soon.

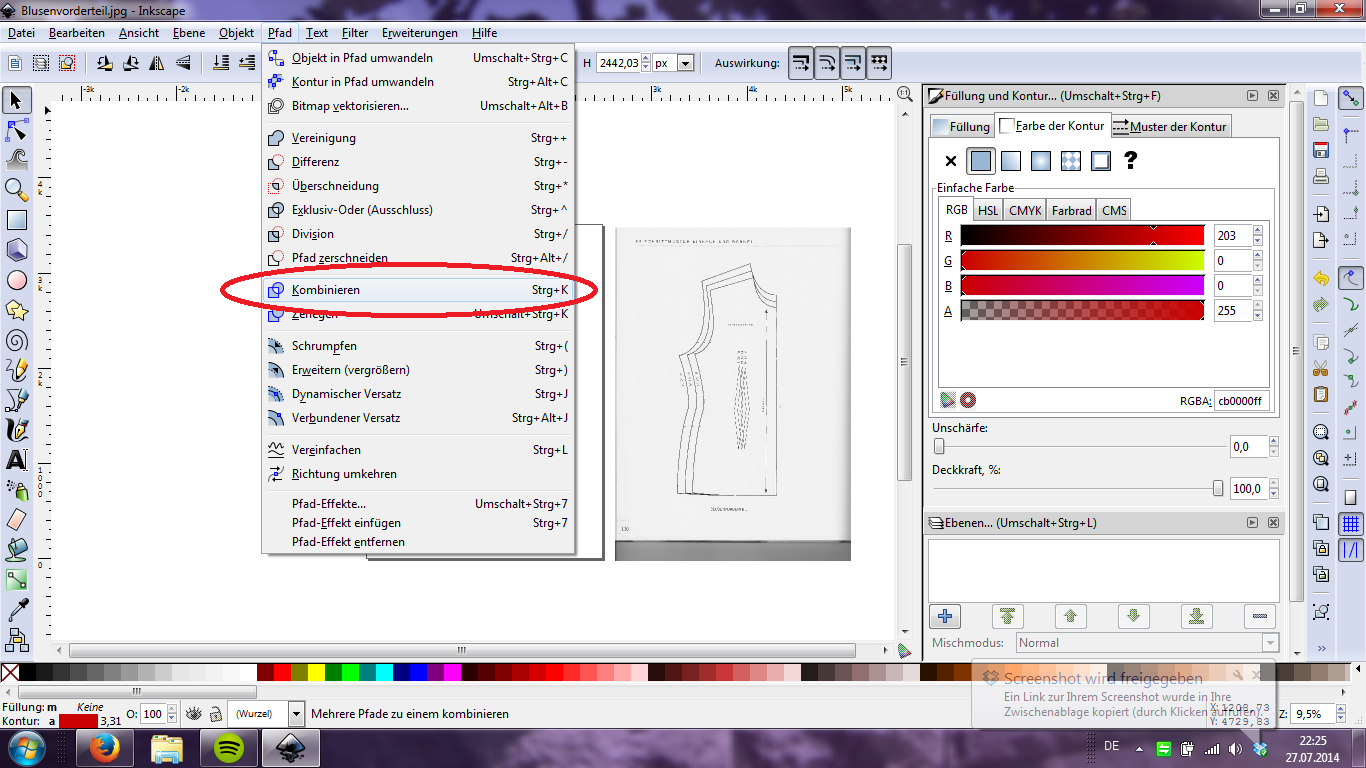
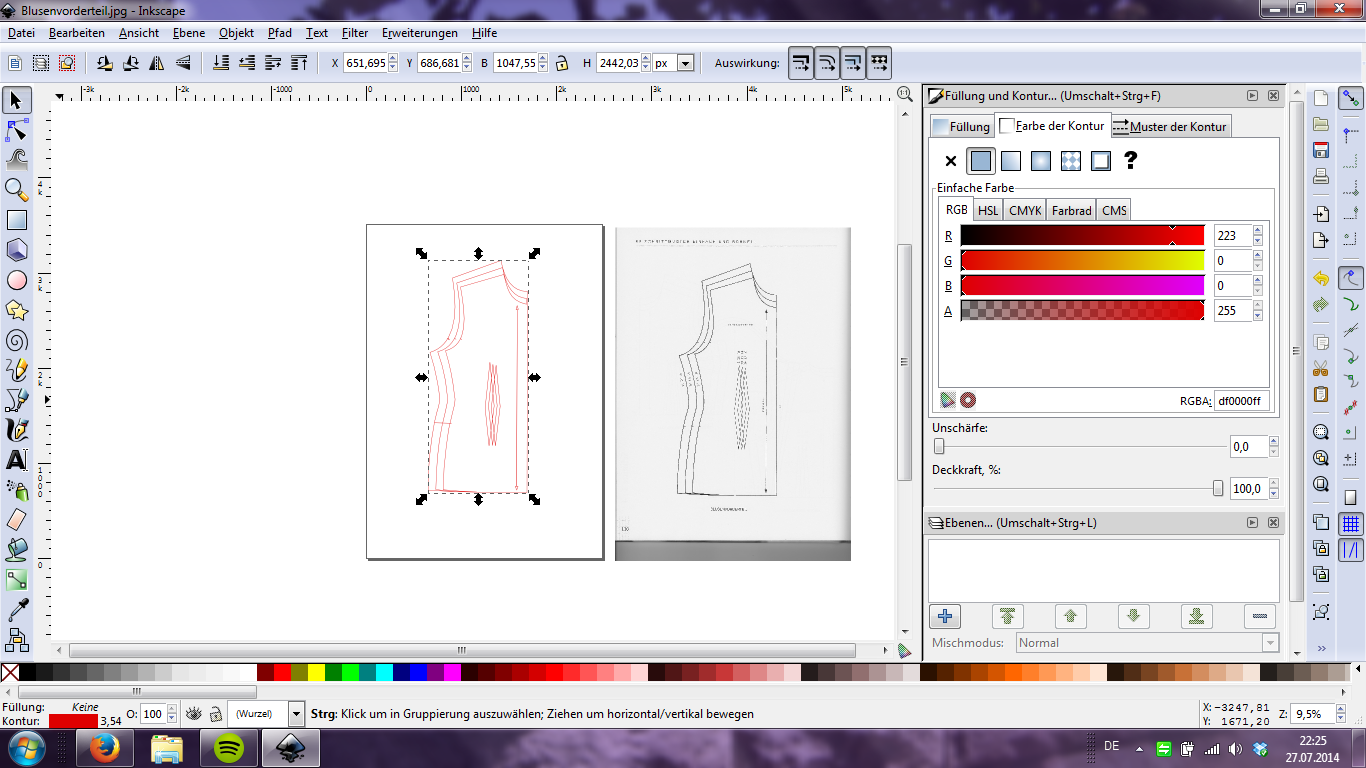
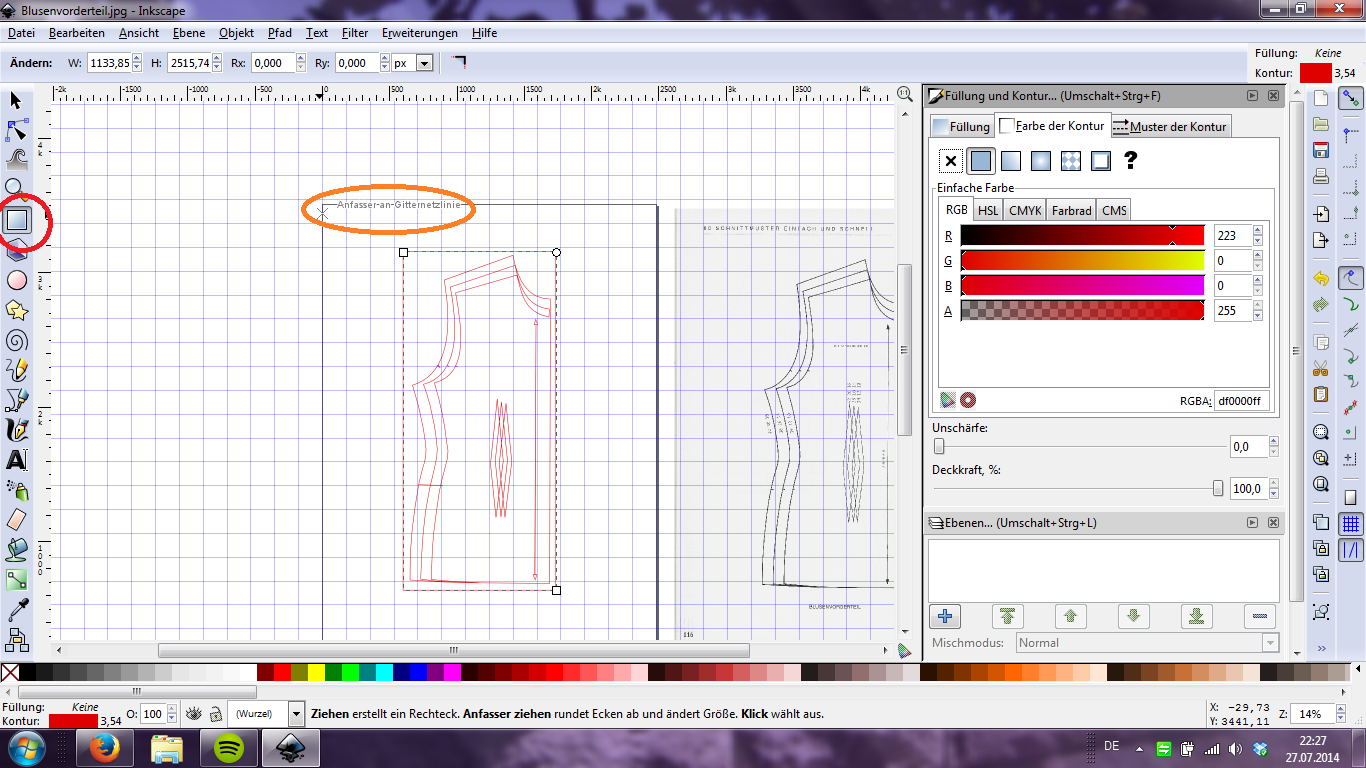
Ich habe zuerst die Biesen genäht, und dann das Muster ausgeschnitten. 
I first sewed the pintucks and cut out the pattern afterwards.


Die Spitze wurde von hand angenäht, und der Verschluss sind wie gesagt Druckknöpfe. Ich persönlich muss sagen, ich finde die Bluse sehr gut gelungen! Sie war sehr bequem und hat wegen der kleinen Ärmel auch gut unter meine Strickjacke gepasst. Ein voller Erfolg!

I attached the lace by hand, the closure consist of snaps, as I mentioned before. I have to say I think the blouse turned out very well! It was pretty comfy and because of the small sleeves, I didn't have any trouble wearing my cardigan on top. A complete sucess!


Donnerstag, 10. Dezember 2015

Well, it's been a while...

... although I assure you, that has nothing to do with my unproductivity (considering I have a Bachelor's thesis to work on, I've been way too productive textile-wise recently), but with the fact that I can never seem to find the time, inclination or help to photograph my projects. So here's what you won't get to see properly until I get the time, inclination or help to properly photograph it:

  • Nadelspiel's Medici-Socks in white, knee-high, already wrapped and given away because I might not see the person they're intended for again before Christmas. Once she's got them, I'll ask her to photograph them, though.
  • White and blue Ramona mittens in double face, with a beautiful slow colour change in the blue. The white is what's left over from my first pair of knitted socks. (I also just realized that I'm talking about the exact same mittens in the post just linked to. I've gotten a lot further ;) )

  • A sweater made out of some shiny green metallic yarn that I bought using a gift-card I had gotten for my birthday. Pattern self-drafted (cross your fingers ;) ). I'm thinking about going back and buying a ball of the same yarn in silver to knit in some patterns. We'll see.
  • And, last but not least, I tried out VeraVenus's skirt drafting tutorial (if you follow that link, scroll down a bit) to make a pencil skirt. Ever since watching Suits for a couple of seasons I fell in love with the pencil skirt and wanted to have/make one, and since I had some black denim left and another rockabilly concert coming up, I drafted the pattern and made it up. Pro-tip: forget what you were taught and don't measure with ease (the pattern has you add two centimeters to the hip measurement anyway), especially when your fabric is a bit stretchy. I ended up taking in the sides for about 3cm each, which absolutely nixed my plans for pockets. Ah well, next time, I suppose. At least all the darts fit pretty much right away :)
I know it's blurry, but it shows best what I ended up wearing. If you wonder about the sneakers and t-shirt, I knew that there'd be a lot of dancing, and dancing jive is a full workout. Happy to report though that dancing (excepting one jumping figure where you kind of have to straddle your partner for a moment) works surprisingly well in such a tight skirt. Only don't wear tights. They're only gonna shift and move downwards as soon as you take a step. Stockings work perfectly, though :)

For now, there's a Masquerade coming up on New Years Eve, dresscode Cocktaildress or Eveninggown and I'm considering giving VeraVenus Little Bias Dress a try. Have to see if I have enough fabric, though... Until then! 

Mittwoch, 13. Mai 2015

One Ring to Rule them all...

Hey look, I finished something!
I've been a little obsessed with doubleface knitting lately, and back in january I started this monsterproject. +55 hours of knitting later, I finally finished this beauty:
While I like The Hobbit better than The Lord of the Rings (read the former 10+ times, the latter once) I'm deeply fascinated by all things middle-earth and the thought that went into creating all its languages and scripts, so when I found a double-face knitting pattern for the inscription of The One Ring on Ravelry, I had to try it. Of course I used the most expensive yarn I could find (a silk-alpaca blend, you'd be amazed at how soft it feels), so with 5 balls of yarn per colour at ~8€ each, I'm at about 80€ for the entire scarf. Still, having worn it as a stole (way too warm for scarves right now) for a couple times now I feel that it's totally worth it.
Final thoughts: I finished about 7 rows early, because I ran out of the yellow yarn, but have about half a ball of the red yarn left over. That's because the yarns always ran over my left hand in the same formation (red lower, between my fingers & yellow higher, wrapped around my index finger), so they had a different tension. This had the additional welcome effect of making the yellow writing on red background (i.e. the right side) much better legible than the wrong side, so that's something to keep in mind for my next projects.

All in all, I'm absolutely happy with my new scarf, and kind of impressed by myself for sticking with it for so long. I also haven't grown tired of knitting doubleface yet, I'll just try to keep my next project a little smaller for better transportability while working on it ;) (fyi, the scarf measures more than 2m).

Dienstag, 23. Dezember 2014

Cat

Hey, you know what you need for Halloween? Black cats! Coming from an allergy-prone family, I made mine hypoallergenic:

But what's that? A zipper?
That's right, I made a cat purse :D
I didn't really get inspired for Halloween costumes this year until a friend of mine suggested going as witches. True enough, I have a hat and a short black party dress, so why not? But there's a problem with dresses, namely that they don't usually have pockets and I am a smartphone addict. Plus, a hat and a black dress do not a witch make, so why not kill two birds with one stone and stack up on accessories?
I had some black velvet in my stash and after some googling found this pattern. After that, it was pretty straightforward:
pattern

lining/bag

eyes to attach the strap
Unfortunately, I was too sick to have much fun at the actual Halloween party, but now I have an accessory for carnival :)

I know that it's closer to New Years Eve than to Halloween, but I had this post sitting around waiting for me to upload the pictures for the last two months, so here it is ;)
Merry Christmas, by the way :)

Sonntag, 27. Juli 2014

How to enlarge sewing patterns using Inkscape

As you might have noticed by now, I kind of hate buying patterns, instead working with what I can find on the internet or my mothers pattern-making book. If you've read my post about the Stardress, you know how I usually enlarge patterns manually. But that's a lot of work, so recently I began to look at ways to enlarge patterns using my computer. What I found is Inkscape, an open source program to draw vector graphics. If you search for Inkscape on youtube etc, you'll find a lot of tutorials for all kinds of neat things, but I couldn't find a tutorial to enlarge sewing patterns, so here it is:
First things first, you don't need any fancy equipment for this, just the program and a mouse. I also suggest to watch one or two of the tutorials on youtube because you'll need to use the Bézier tool quite a lot and it's just easier to learn from a video. Ready? Here we go!
You'll need a pattern you want to enlarge first, of course. I used one of the quarter sized ones in the back of my mother's pattern making book and scanned it; for some reason, the scanner saved it at three times the size of the original, so I had to make some more calculations than normal, but as long as you know the ratio between your beginning and end point, you should be fine.
Open the image in Inkscape, I just click ok when it asks wether to embedd or do something else.
Please click on the image if it's too small ;)
Then, using the Bézier tool, start tracing the pattern. I usually start with the biggest size and work my way to the smaller sizes, darts, grain lines etc. Make sure you trace everything you want to have on your big pattern!
The Bézier tool, in case you didn't watch any tutorials

You'll need this tool to manipulate the straight lines into curves;
If you click here the window on the right side opens up

To make it easier on my eyes, I make all the lines red and 1mm thick using the window on the right side.
Work in progress...
...and all done
Now we manipulate our lines a little:
Using the selection tool, drag your background off the page.
We don't need that anymore! :)
Select all your lines by drawing a big rectangle over all of them, still with the
selection tool
Now combine them, so you can move them all at the same time.
It should look something like this.
Now we need a grid:

I like mine to be a 1cm x 1cm grid, with thicker lines every 5cm for better visibility, but that's just personal preference.
When I have the grid, I draw another rectangle around the entire pattern.
This means that the edges "stick" to the grid, which is very useful.
 Make sure you combine the rectangle with the other lines like you did before!
Now I count the squares within the rectangle, write them down and do a little math on them. This is where you need to know your ratio, my book says 1:4, but since my scanner for some reason saved the image at three times its original size, I had to divide by three and then multiply by four.
What, you didn't think that
this was gonna be entirely
digital, did you?
Using the same window where you found the grid settings before, you can now change the page size to your new measurements.
If it looks like this, you're almost done!
Now we're actually enlarging the pattern:
Still with the selection tool, move it to one corner of the page
And, keeping Ctrl pressed, pull on one of the corners until you meet the
corner of the page.
It pays to zoom in at this point to get all the edges lined up. Remember to keep Crtl pressed when pulling on the corner, or the width to height ration distorts.
Okay, that's as far as we get using Inkscape. I suggest saving your work as an .svg file (the default option), so that you can come back and manipulate it further later on, if you need to. But if you actually want to print it out, I suggest saving as a .pdf file, using the "save as " button.
That's what my finished product looks like, note the zoom factor
 One last tip, because I didn't know this before: you can actually print this out at home, using the "poster" button in your print menu:
You might wanna select some overlap if you want to glue it together later
I hope that this helps some of you, if you have any questions, shoot, but keep in mind that I too am still learning to work with this program ;)
Right now I'm working on converting all the basic patterns from my mother's pattern book into printable patterns so that I don't lose any time enlarging next time I want to use one of them.

Sonntag, 29. Juni 2014

Bits and pieces

To be honest, I haven't really been sewing much lately. It's not that I didn't have the time, I just wasn't motivated enough to use that time to sew. But I've been doing some prep work, and other little things, that I didn't deem interesting enough to justify a blog post. But since this break is getting kind of long, here's some bits and pieces:

-the circular gallifreyan shirt:
Finished embroidering the collar and halfway attached it to the base of the shirt. Now I'm too lazy to iron it so I can finish attaching it.
attached collar
finished embroidery


- patterns:
I bought a pattern for a vest/waistcoat/gilet (I have no clue what to call it in English), because up until now, I always stole my brother's when I wanted to wear one. I traced the pieces I needed instead of cutting them because I wasn't too sure about the size I needed and didn't want to destroy the paper pattern, so that's as far as I got.
No pictures yet, so you get the pattern envelope. I'll be doing view A first

Also in patterns: I'm still scaling up a 19th century corset pattern, I even have some fabric for it.
enlarging the gussets
 I will be doing full posts when (if) I finish any of these, but right now I'm kind of busy with other things. We'll see how it goes.

Sonntag, 13. April 2014

What I've been doing lately...

Lace. Lots of Lace.
Pattern found here, scroll down and you should be able to find it. I love drawn instructions, so much easier to follow than written ones... In any case, the pattern repeats itself every four rows, so I knew it by heart pretty quickly. So far, I have about 5m of lace and still some yarn left, I kinda challenged myself to crochet the whole roll of yarn into one continuous strip of lace. I already finished all four seasons of raising hope while crocheting, so this is gonna take some time, but I like having an easy continuous project for things like watching tv, riding the train etc. I just have to see if I can make something cool/pretty/useful out of it when I'm done. Hm...
In other news, I have some plans for a shirt/tunic for the summer (fabric's bought, you'll see more when it's out of the wash) which will feature some embroidery. While I love the look of blackwork I don't feel up for counted thread embroidery on a finely woven fabric and even after some considerable time couldn't find a decent pattern (or any pattern, actually) for the later, more curved and freely flowing (floral) designs, I looked for other inspiration.
I've dabbled in Circular Gallifreyan before, but it's hard to do nicely by hand, so tonight I busted out the computer - and Paint. Really, I tried Gimp, but it just wouldn't give me a tool do draw circle shapes! Anyway, because I wanted it evenly, I drew 3 different sizes of circles and after that only used the copy/paste/move tool, the eraser and sometimes brush (for the dots). Oh, and the straight lines tool, because who the hell could ever draw a straight line with a mouse :)
I used the "A good man goes to war" poem from the Doctor Who episode of the same name, here's the first verse:
Don't worry about the writing at the top, I do know how to spell, it just helps visualizing how many circles you need when you write it out that way.
It was quite fun to make and I'll certainly do the rest of the poem as well. I think it would make a nice pattern as embellishment for collar, cuffs or hem of a simple white shirt.
That's all for today! Have a happy Easter, everyone :)

Edit: I did the whole poem! Yay!


Freitag, 26. Juli 2013

Procrastination for the win!

What does the good student do when she's supposed to study for her exams? Why, she sews, of course! Or prepares for sewing, anyway. I mentioned earlier that I couldn't remake my regency dress until I had some proper undergarments, which I intended to drape like American Duchess. But then I read this amazing blogpost by Kleidung um 1800, in which she also provides several patterns for free (go check it out if you haven't clicked that link yet, all her posts are amazingly detailed!). She even asks people to try out her method to see if it works for everybody. I got giddy to try it, and finally had some time (and materials) to try it. I scaled the pattern tonight, and who knows, if I manage my time just right, I might even get some sewing done this weekend. Wish me luck! :)
Scaling... drawing squares can get pretty boring ;)

The scaled pattern. Who knew that math could
be so usefull while sewing...


The finished pattern. I just can't wait to try it in fabric!

Donnerstag, 25. Juli 2013

Stole

So, after flunking not one, but two exams this week (and pouring sweetened tea all over my keyboard, making the keys stick and stuck something aweful) I decided to do something productive that I can hardly mess up: another blogpost! (Oh, and my friend keeps bugging me about it, so there you are, you're welcome :P)
I wanted to tell you about the stole I'm working on. I chose this project because I wanted to have a shawl that works for several epochs of fashion, and because it's a great and stylish way to stay warm. Also, I like easy knitting projects you can do on the go (I spend a lot of time in busses and trains ;) )
I just love those gigantic shawls on victorian women
As I said, I wanted to knit my shawl (believe it or not, it relaxes me) and wanted an easy pattern so that I could knit on the go without having to carry around the instructions sheet all the time. I also wanted it to have kind of a lacey pattern because plain knitting just seems so boring for an accessory... after some searching, I stumbled unto this site (Sorry it's in German). Being in an impatient mood, I only went through the first two pages until I decided to combine two of the patterns to create a v-shaped pattern. Lots of fiddling and a couple of curses later, I had a pattern I was happy with:

Trying to make up a pattern...

Here's the one I finally went with, plus the trial-piece


After going back to the website for my sources I just realized that they actually have a v-shaped pattern, so I probably could have saved myself at least some of the troubles.
Then again, maybe not, because I wanted a triangular shawl. Here's how you do that: Cast on 4 stitches, turn, then purl all stitches, turn again. Knit one stitch (I never bothered with borders, I just knitted/purled them depending on if I was in an even or uneven numbered row), wrap thread around your needle (you just created a new loop), knit two, wrap around once more, knit the last stitch. On your way back, always purl every loop on your needle. That way, you gain two stitches every second row, and get that triangular shape!
This is my pattern:
You only see every second row because the backrow is
always purling
The circles are knitted Sitches, the U stands for "wrap-around" ("Umschlag" in German); The upside down-V's mean different things, depending on what side they're on (an lean to ;) ). On the right side, just knit two stitches together, very easy. But on the left side, you have to pull the loop off the left needle as if you were going to knit it, then knit the stitch after that, then pull the first loop over the second. You'll see that this technique creates a mirror-image of the stitches you knitted together on the right.
One more thing: Everytime you start a new "V" with a wraparound in the middle, you suddenly have an uneven number of stitches. I tried several ways to work around this, but the most regular result I got goes like this: when you get to the wrap-around on your next knitted row, you are going to knit one regular stitch - just don't pull the loop off the left needle yet. Bring the thread in front of the needle, and you can get another stitch out of the same loop (same movement as purling, I think). I indicated this on my pattern with the little "2" just above the U.
Other usefull tips: use a stitchmarker to mark the middle. I use a safety-pin, but you can use just about anything you can slip over your needle. Make sure you place the stitchmarker between the double-stitch I explained in the last paragraph!
Also: don't get desperate, I had to redo practically every second row when I started (which is particularly annoying when you're knitting, because you have to work backwards instead of just pulling the thread like in crochet), you'll get the hang of it in time.
The humble beginning. I'm much further now, just ran out of yarn.
After two balls of yarn, I'm only at 60cm length in the middle, so we'll see how far the third one takes me. Until then :)


Edit: As it will not let me put a link into an image description, here's the source for the pretty victorian Lady