As you might have noticed by now, I kind of hate buying patterns, instead working with what I can find on the internet or my mothers pattern-making book. If you've read my post about
the Stardress, you know how I usually enlarge patterns manually. But that's a lot of work, so recently I began to look at ways to enlarge patterns using my computer. What I found is
Inkscape, an open source program to draw vector graphics. If you search for Inkscape on youtube etc, you'll find a lot of
tutorials for all kinds of neat things, but I couldn't find a tutorial to enlarge sewing patterns, so here it is:
First things first, you don't need any fancy equipment for this, just the program and a mouse. I also suggest to watch one or two of the tutorials on youtube because you'll need to use the Bézier tool quite a lot and it's just easier to learn from a video. Ready? Here we go!
You'll need a pattern you want to enlarge first, of course. I used one of the quarter sized ones in the back of my mother's pattern making book and scanned it; for some reason, the scanner saved it at three times the size of the original, so I had to make some more calculations than normal, but as long as you know the ratio between your beginning and end point, you should be fine.
Open the image in Inkscape, I just click ok when it asks wether to embedd or do something else.
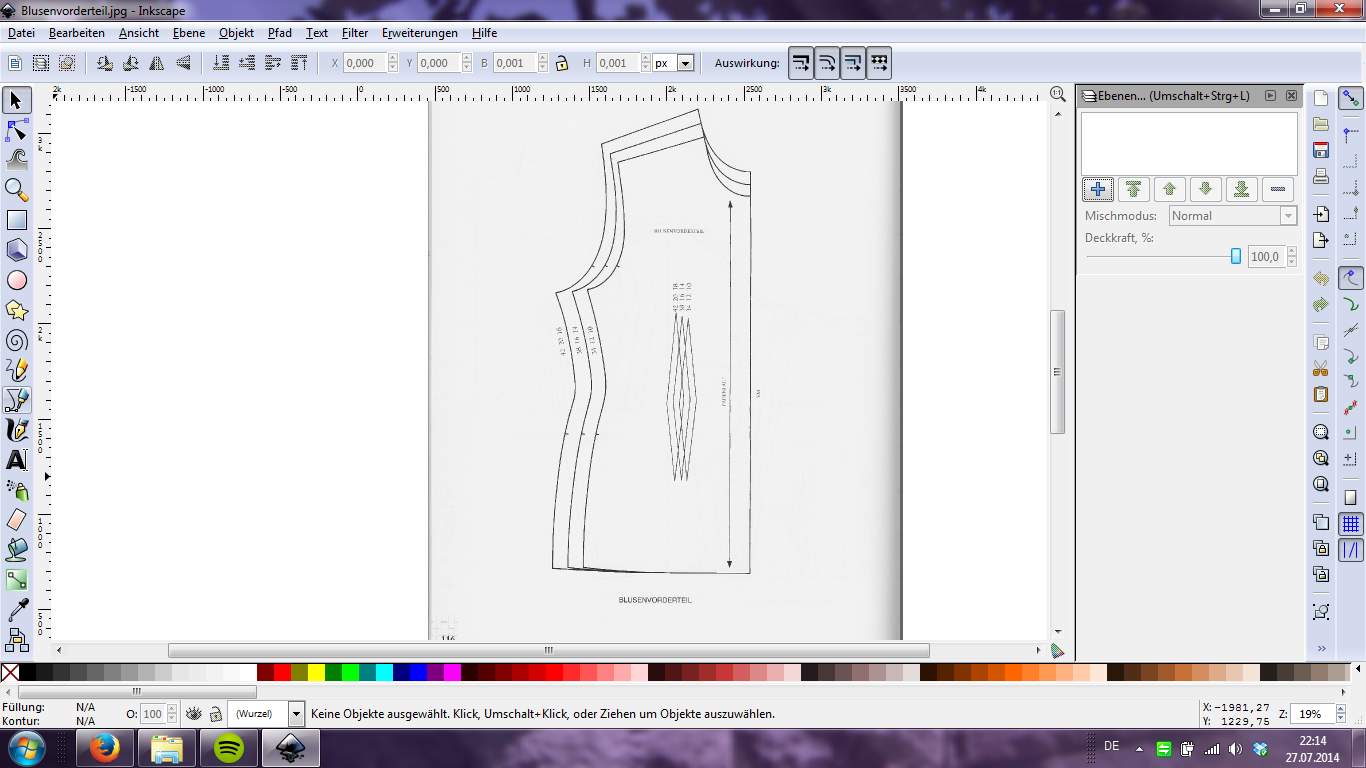 |
| Please click on the image if it's too small ;) |
Then, using the Bézier tool, start tracing the pattern. I usually start with the biggest size and work my way to the smaller sizes, darts, grain lines etc. Make sure you trace everything you want to have on your big pattern!
 |
| The Bézier tool, in case you didn't watch any tutorials |
|
|
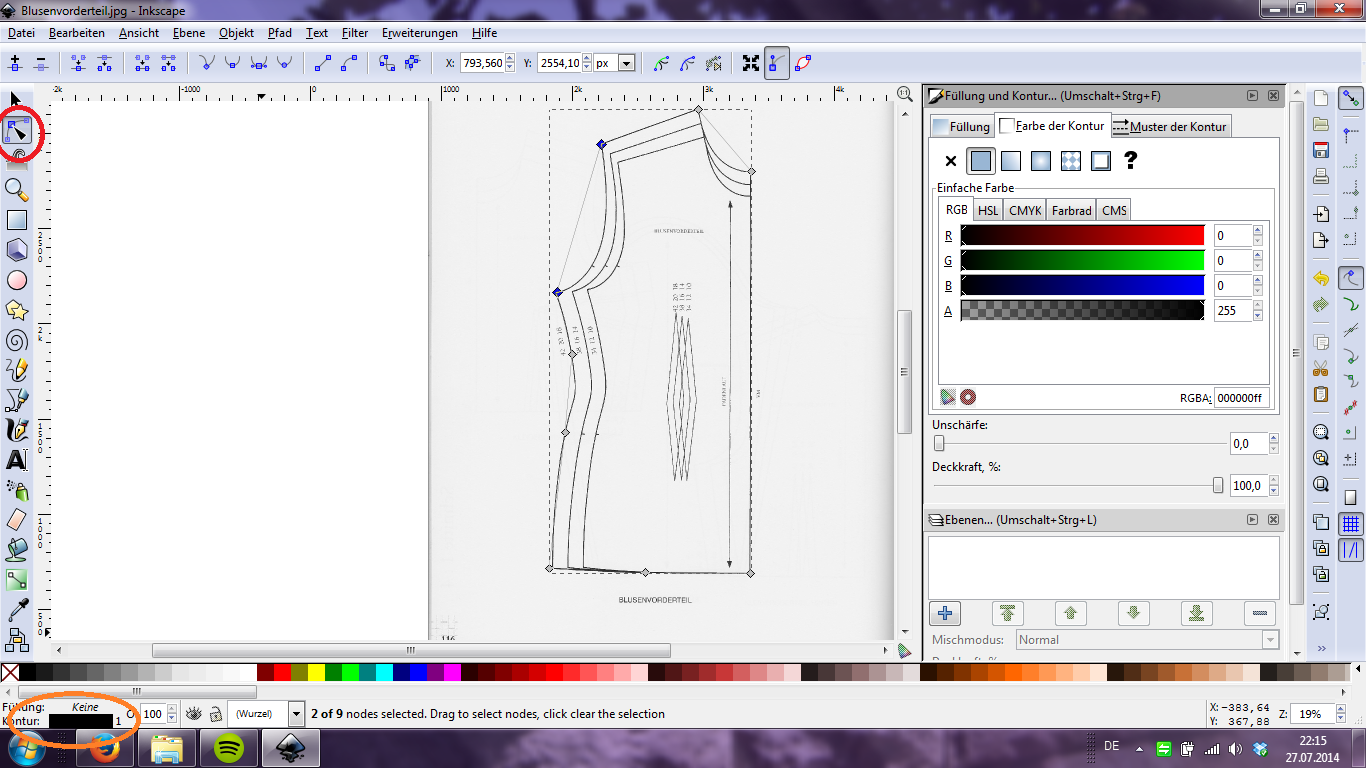 |
You'll need this tool to manipulate the straight lines into curves;
If you click here the window on the right side opens up |
|
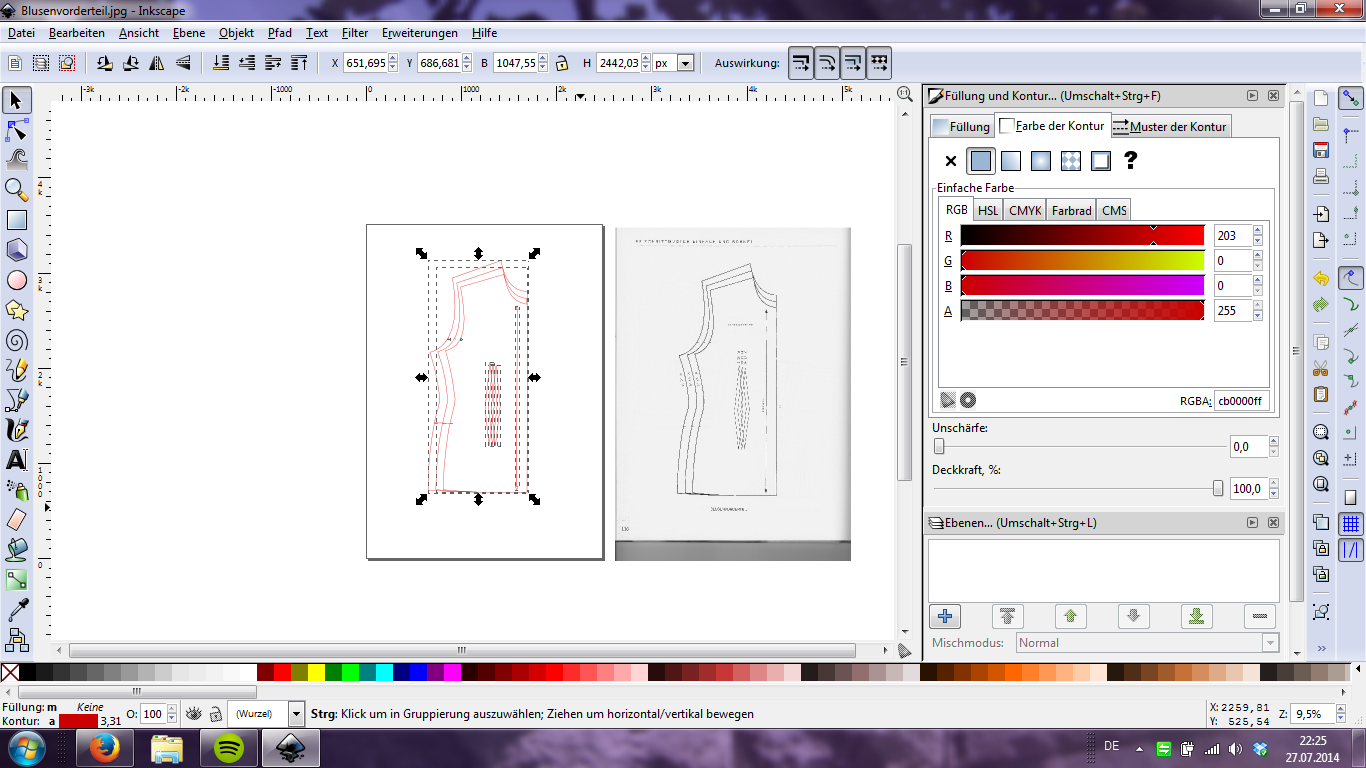
To make it easier on my eyes, I make all the lines red and 1mm thick using the window on the right side.
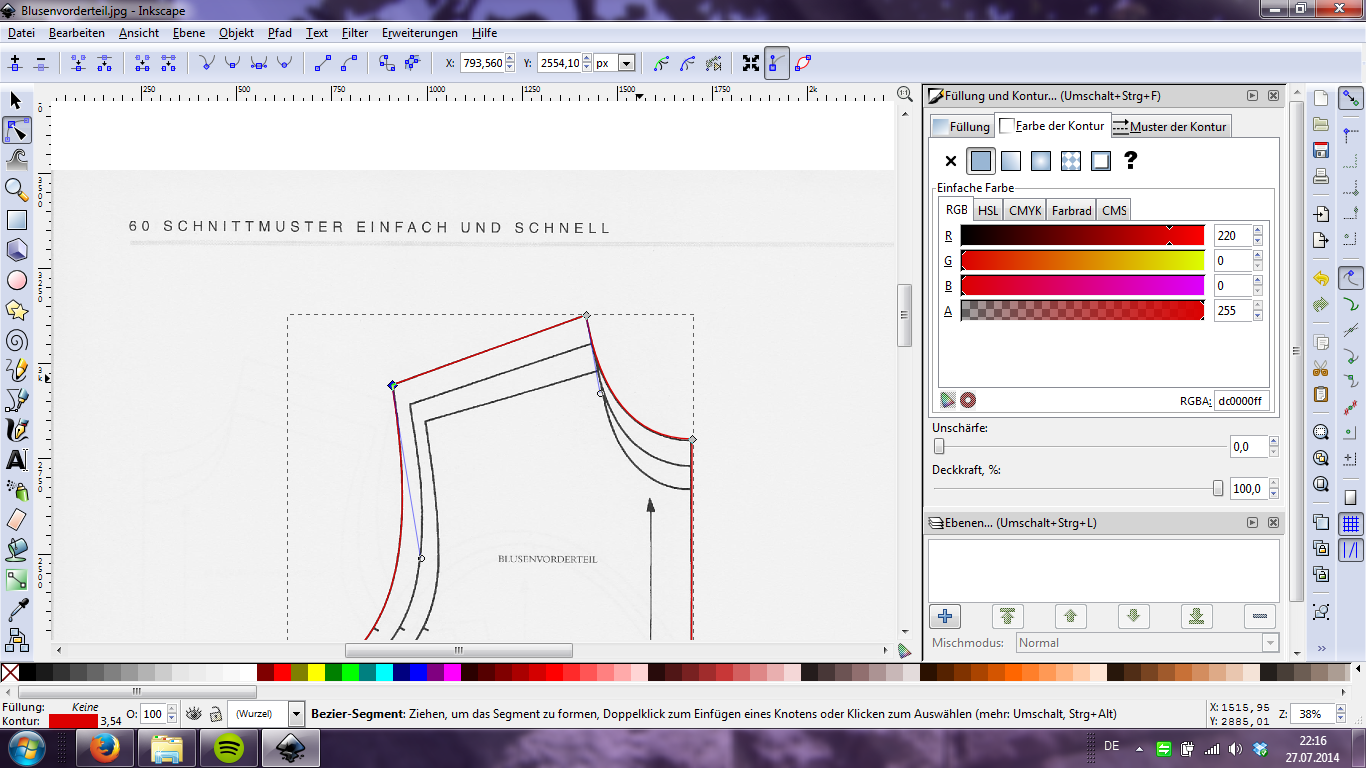 |
| Work in progress... |
 |
| ...and all done |
Now we manipulate our lines a little:
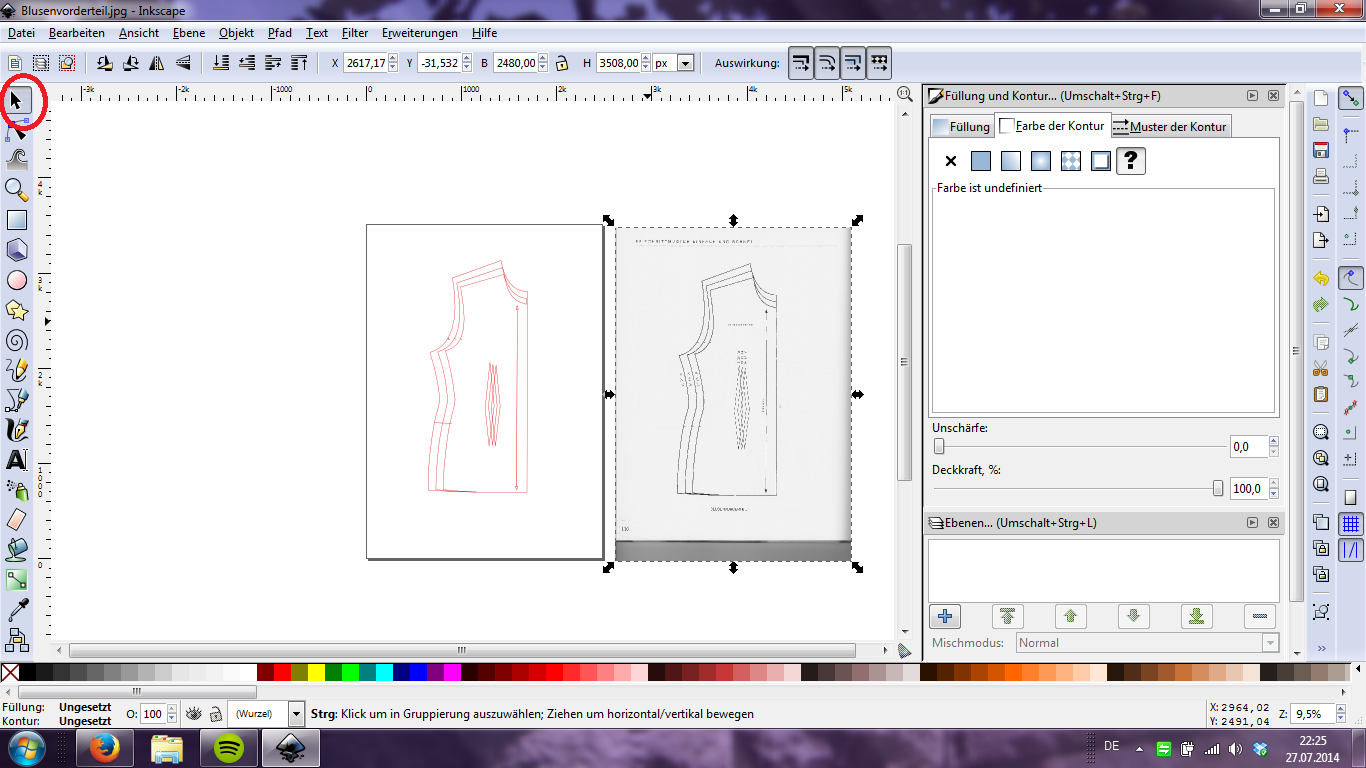 |
Using the selection tool, drag your background off the page.
We don't need that anymore! :) |
 |
Select all your lines by drawing a big rectangle over all of them, still with the
selection tool |
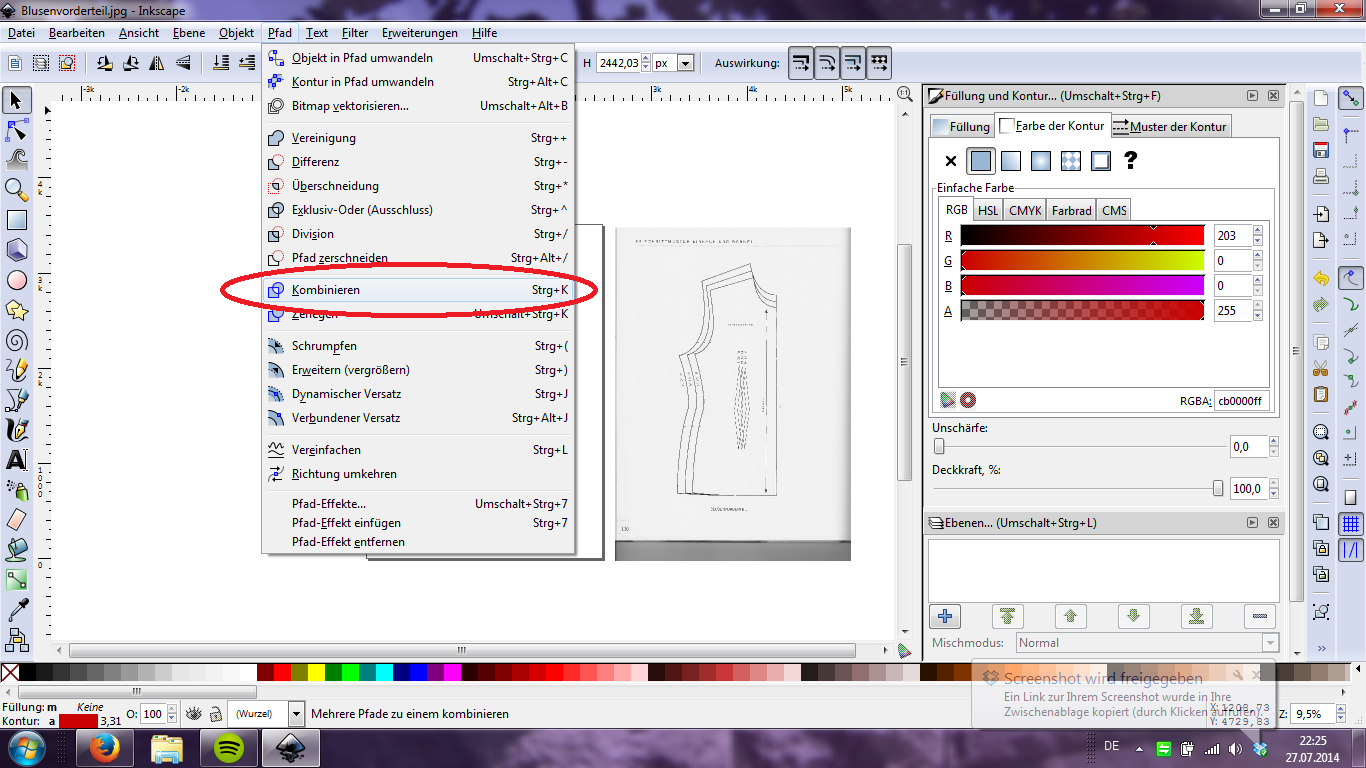 |
| Now combine them, so you can move them all at the same time. |
|
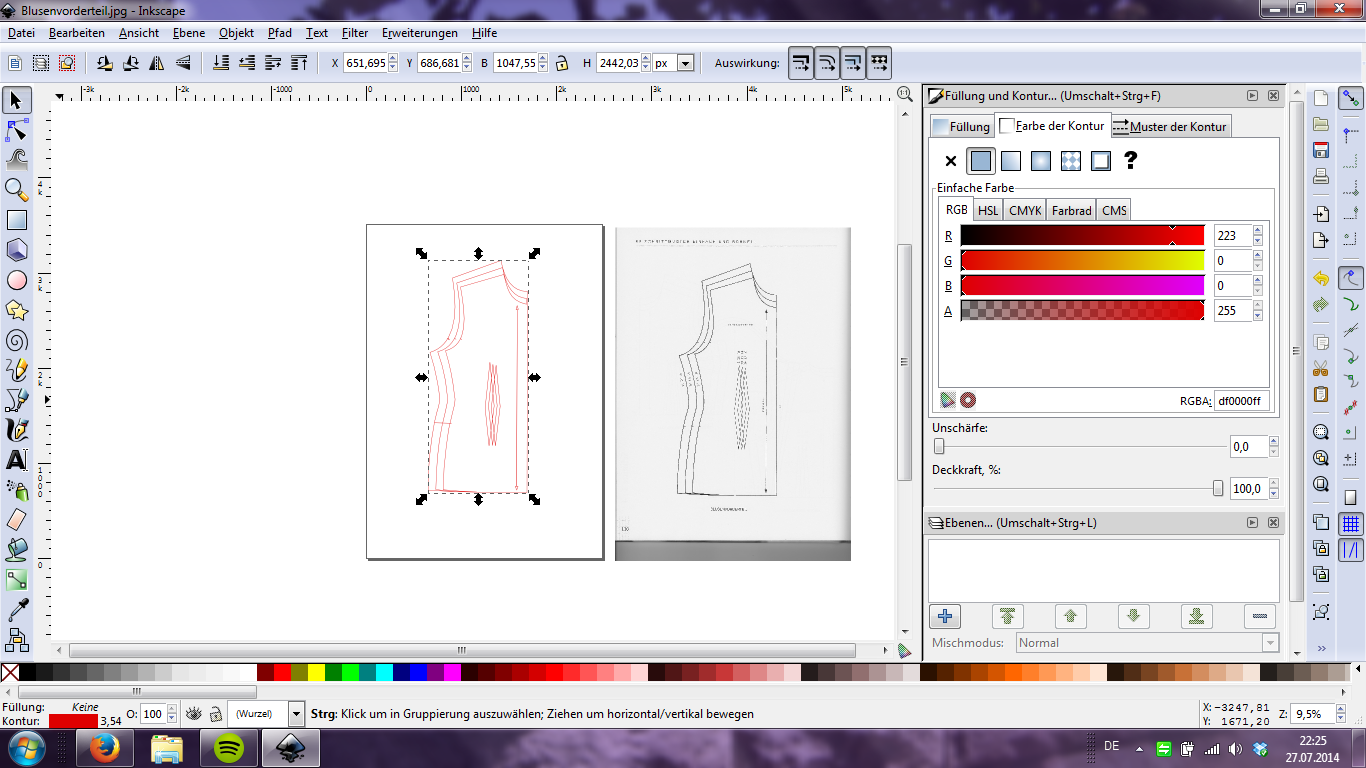 |
| It should look something like this. |
Now we need a grid:
I like mine to be a 1cm x 1cm grid, with thicker lines every 5cm for better visibility, but that's just personal preference.
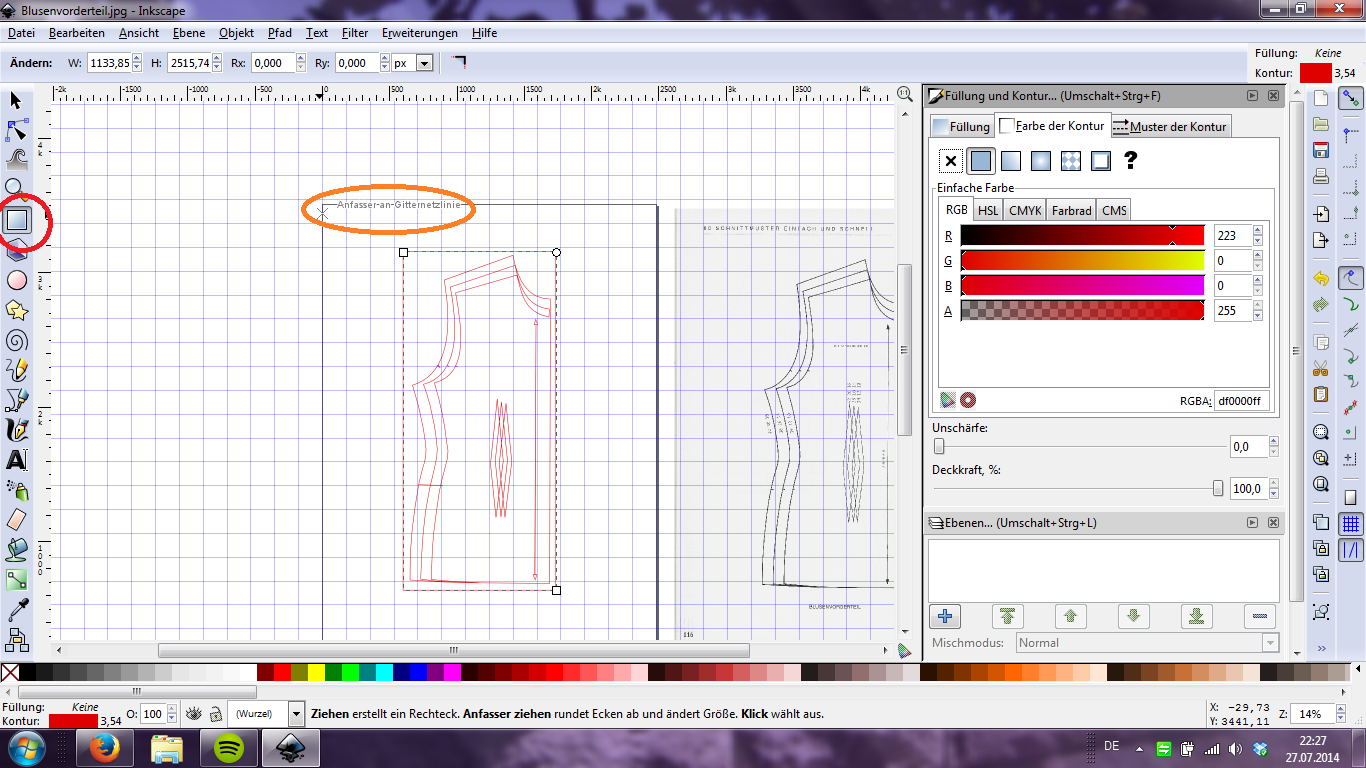 |
When I have the grid, I draw another rectangle around the entire pattern.
This means that the edges "stick" to the grid, which is very useful. |
Make sure you combine the rectangle with the other lines like you did before!
Now I count the squares within the rectangle, write them down and do a little math on them. This is where you need to know your ratio, my book says 1:4, but since my scanner for some reason saved the image at three times its original size, I had to divide by three and then multiply by four.
 |
What, you didn't think that
this was gonna be entirely
digital, did you? |
Using the same window where you found the grid settings before, you can now change the page size to your new measurements.
 |
| If it looks like this, you're almost done! |
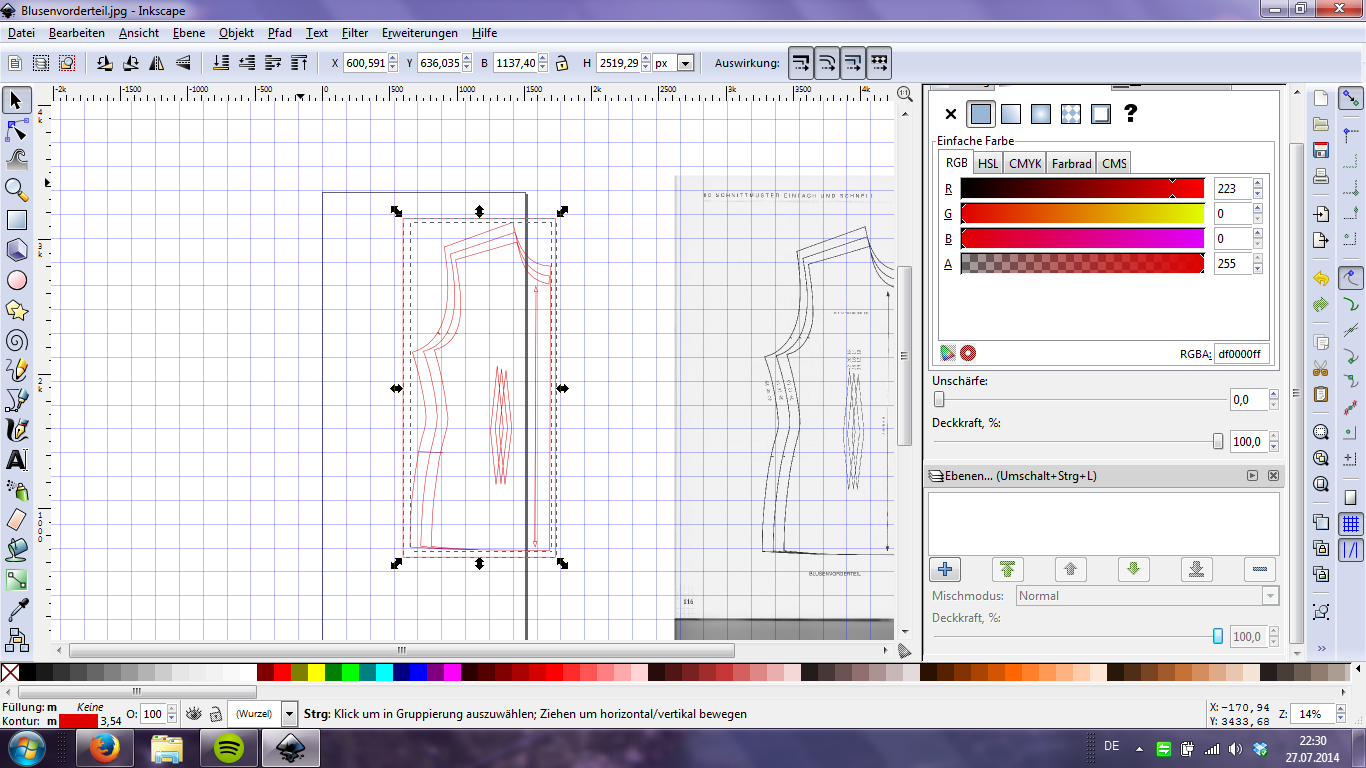
Now we're actually enlarging the pattern:
 |
| Still with the selection tool, move it to one corner of the page |
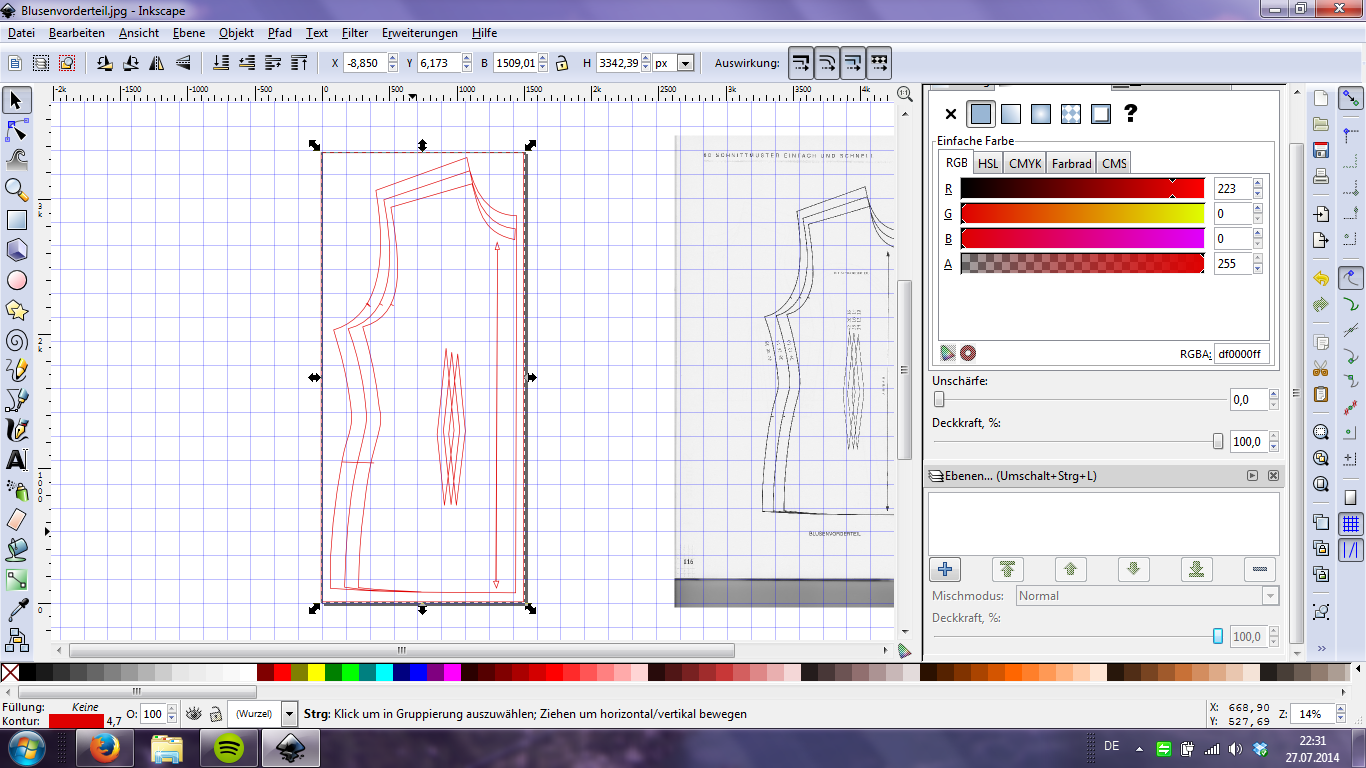 |
And, keeping Ctrl pressed, pull on one of the corners until you meet the
corner of the page. |
It pays to zoom in at this point to get all the edges lined up. Remember to keep
Crtl pressed when pulling on the corner, or the width to height ration distorts.
Okay, that's as far as we get using Inkscape. I suggest saving your work as an .svg file (the default option), so that you can come back and manipulate it further later on, if you need to. But if you actually want to print it out, I suggest saving as a .pdf file, using the "save as " button.
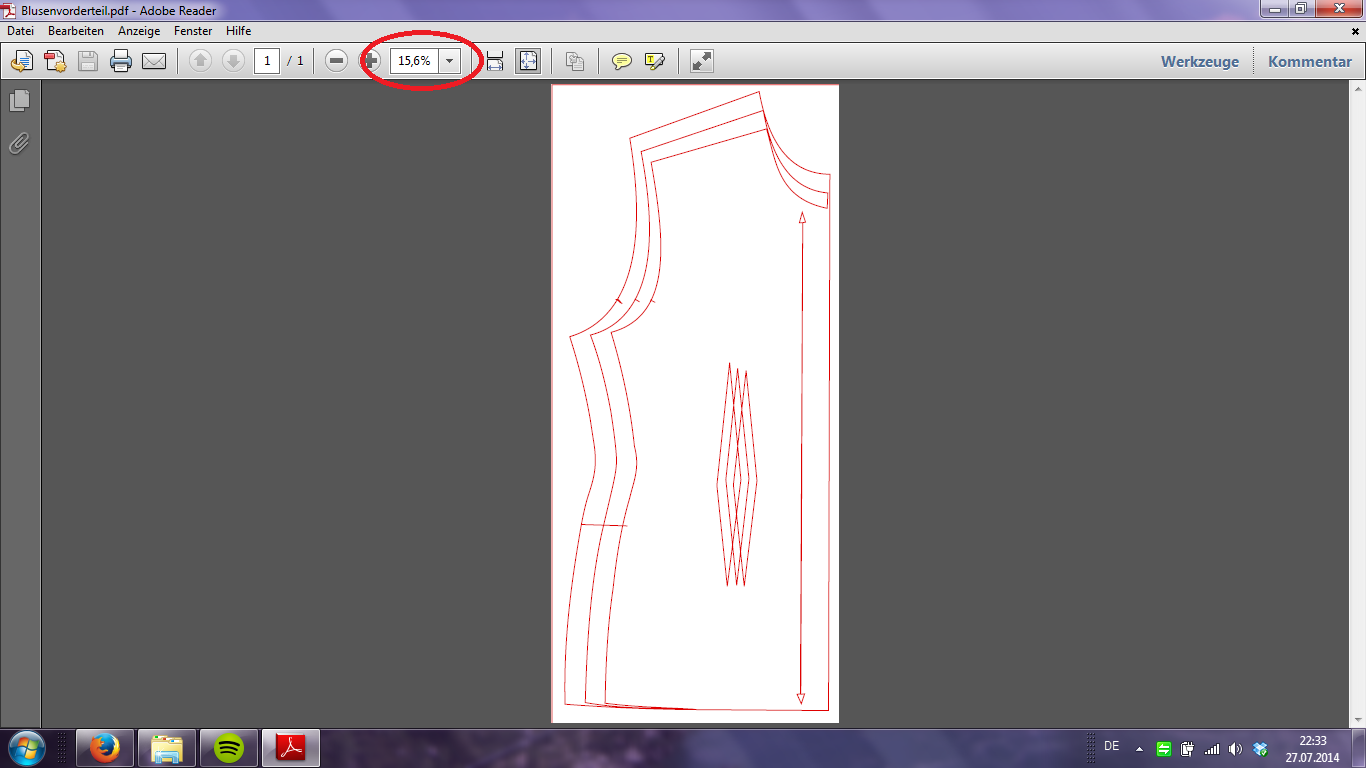 |
| That's what my finished product looks like, note the zoom factor |
One last tip, because I didn't know this before: you can actually print this out at home, using the "poster" button in your print menu:
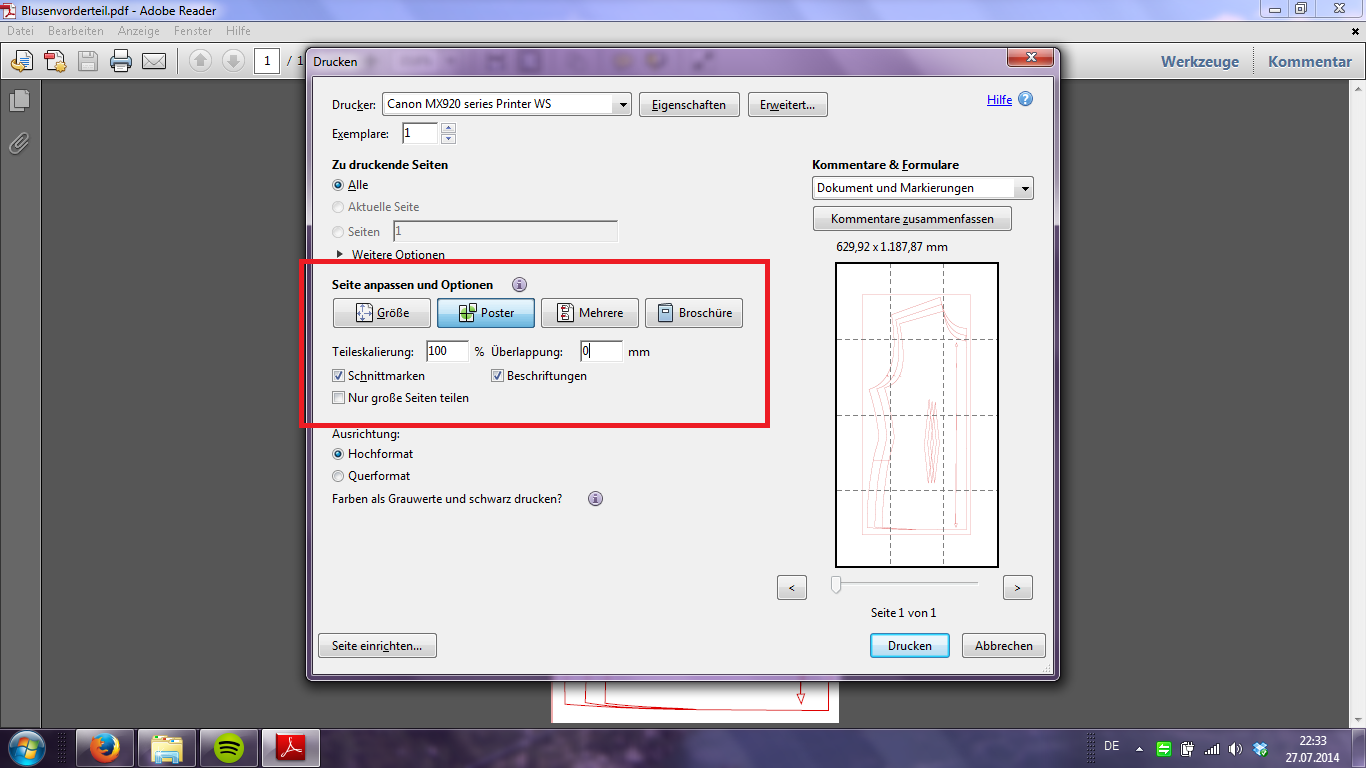 |
| You might wanna select some overlap if you want to glue it together later |
I hope that this helps some of you, if you have any questions, shoot, but keep in mind that I too am still learning to work with this program ;)
Right now I'm working on converting all the basic patterns from my mother's pattern book into printable patterns so that I don't lose any time enlarging next time I want to use one of them.


